How To
Setting up your Water Feature
Setting up your Water Feature
If you’ve bought one of our lovely Water Features, you may be one of the few customers who are experiencing a bit of trouble setting it up. Don’t worry you’re lovely little head. It’s very easy to get these Water Features up and running, but it will require a bit of patience (and a bit of sun too!).
Remember: Do not fill your water feature with water until you have completed all the preliminary steps.
Charging it up
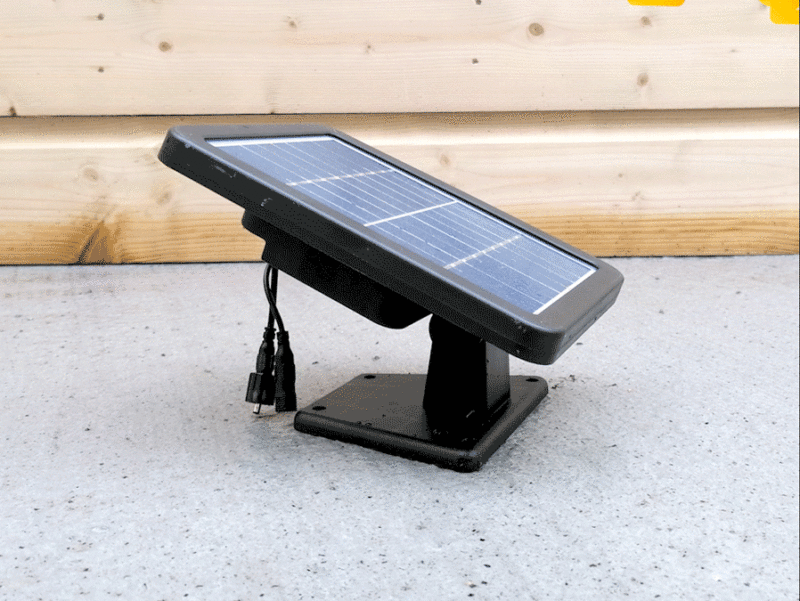
The most important part of setting up your water feature is allowing it time to charge correctly. Take your Solar Panel out of its box, place it in an area of bright, direct sunlight and allow it to charge for at least three hours. If you have one of the larger solar features like the Wishing Well, The Zen, etc, it can take up to double this time. Do not connect it to the body of the water feature at this time.
Overcast days can also hinder the charging speed of your solar panel. Be patient if it is a particularly cloudy time, it may take up to two days to charge fully on the first occasion.
Once the panel is charged fully, the red light on the back will be clearly visible when it’s turned on. Once you see this, you can connect it up to the water feature.
Take out the internal wire and pump
Before you do anything else, take the wire and the water pump out of the back of the water feature. They may be cable-tied in position, depending on which feature you have. Leave these to one side for the moment.
Connect the pump
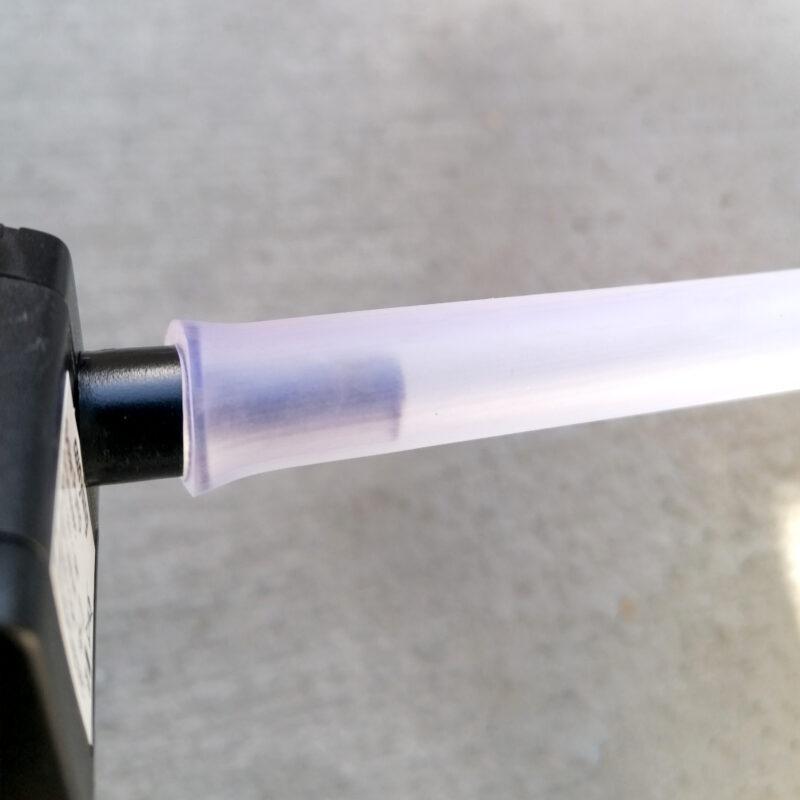
You can now connect the water pump to the inner tubing. It is a tight fit (it needs to be) but you don’t need to push it all the way down. See the image below for an example of how far it needs to go. If you are struggling to get the tubing into position over the pump, a small amount of washing up liquid can be applied to the edge of the tubing to lubricate it.
Connecting up the wires
Thankfully, you cannot connect up the wires incorrectly. There are only two of them (one for the LED lights on your feature and the other for the water pump) and they cannot be attached in the wrong order. Once the pump is connected and secured, you can return it to the back of the water unit. Ensure that it is faced down – there is a sticky element to affix it to the bottom of the unit. Check that it is not blocked, tangled or too close to an internal side-wall when you place it back inside also.
With the LED panel also connected up you can now fill the unit with water.
Filling with water
Fill the unit with clean water. Depending on the unit you have it can take anywhere from 5 litres to 15 litres of water to fully fill the unit. It is not necessary to fill it to the point of overflowing, however, it needs to be filled to the point that the pump is fully submerged when it is in operation.
The more water that is in the unit, the heavier the flow of water there will be from the unit.
Turning it on
Turn the unit on, if it has not already done so itself. The button may require a 1-second long push to start the unit. You will know it has started when you see the red light illuminate above the on-button.
The pump will kick into action and the water will slowly appear from your outlet spout to fill the water unit. Some of the water features will fill more slowly than others.
Frequently Asked Questions / Tips
“I can hear the pump but it’s not flowing”
If you can hear the pump chugging away, but the water is not flowing well, or if it’s just not flowing at all, the solar panel is not charged up enough to function. Disconnect your solar panel from the unit and allow the panel to charge for some more time.
“The Light at the back of the panel is flickering”
This simply denotes that the panel is losing its charge and it will need to be recharged.
“The LED lights are not working”
The LED lights on these units only illuminate when it is dark. You can test this by placing your Solar Panel face down so that it is not receiving any light; your water feature will light up then. It is not advised to leave the panel facedown during the day so that the LED light illuminates, as the panel will not receive any charge and it will require an unconnected full charge the next day to get going again.
Checking for incomplete flow
When you are setting up your water feature, it is important to make sure that it is flowing correctly. Some of the features have LED ports that can be loosened by heavy-handed movement or vigorous shaking. These ports can allow water to flow back into the base of the water unit, rather than progress down the expected water flow route.
If you notice that your unit is filling only partially, you will need to check for loose connections. Look to where the water is not flowing from and inspect the LED lights there. In the example below, the LED panel and water flow are not sitting in position correctly. Once they are fixed from below, the water can flow down the unit as it should.
Any other questions?
If you have a question about setting up your Water Feature that isn’t explained above, you can get in contact with us during business hours at 01 864 4247 or over on Facebook. If you’re stuck while we’re not open, check out our jam-packed FAQ section, which is regularly updated.


