
Self-Assembly Vs Supply and Fit
Self-assembly can be great – if you know what you’re doing. For others it present a major hassle. We’ve already looked at all this, so we’re not going to dwell on it here – instead, we’re going to focus on the nitty gritties of each. What do you actually get with assembly? And more importantly, what doesn’t come with it? Also, we’ll lay out what you should expect with a flat-packed build. So without further ado:
Is supply and fit totally ‘hands off?’
We don’t offer a full hands-off shed assembly experience. Don’t get me wrong, we won’t be handing you a cordless screw and barking orders to ‘turn that to your other left’, though. That said, you will need to have a few things ready for when our team arrive.

What do I need to do for my shed if I opt for Supply and Fit, then?
You will need to have a few things ready for our lads ahead of the sheds’ assembly.
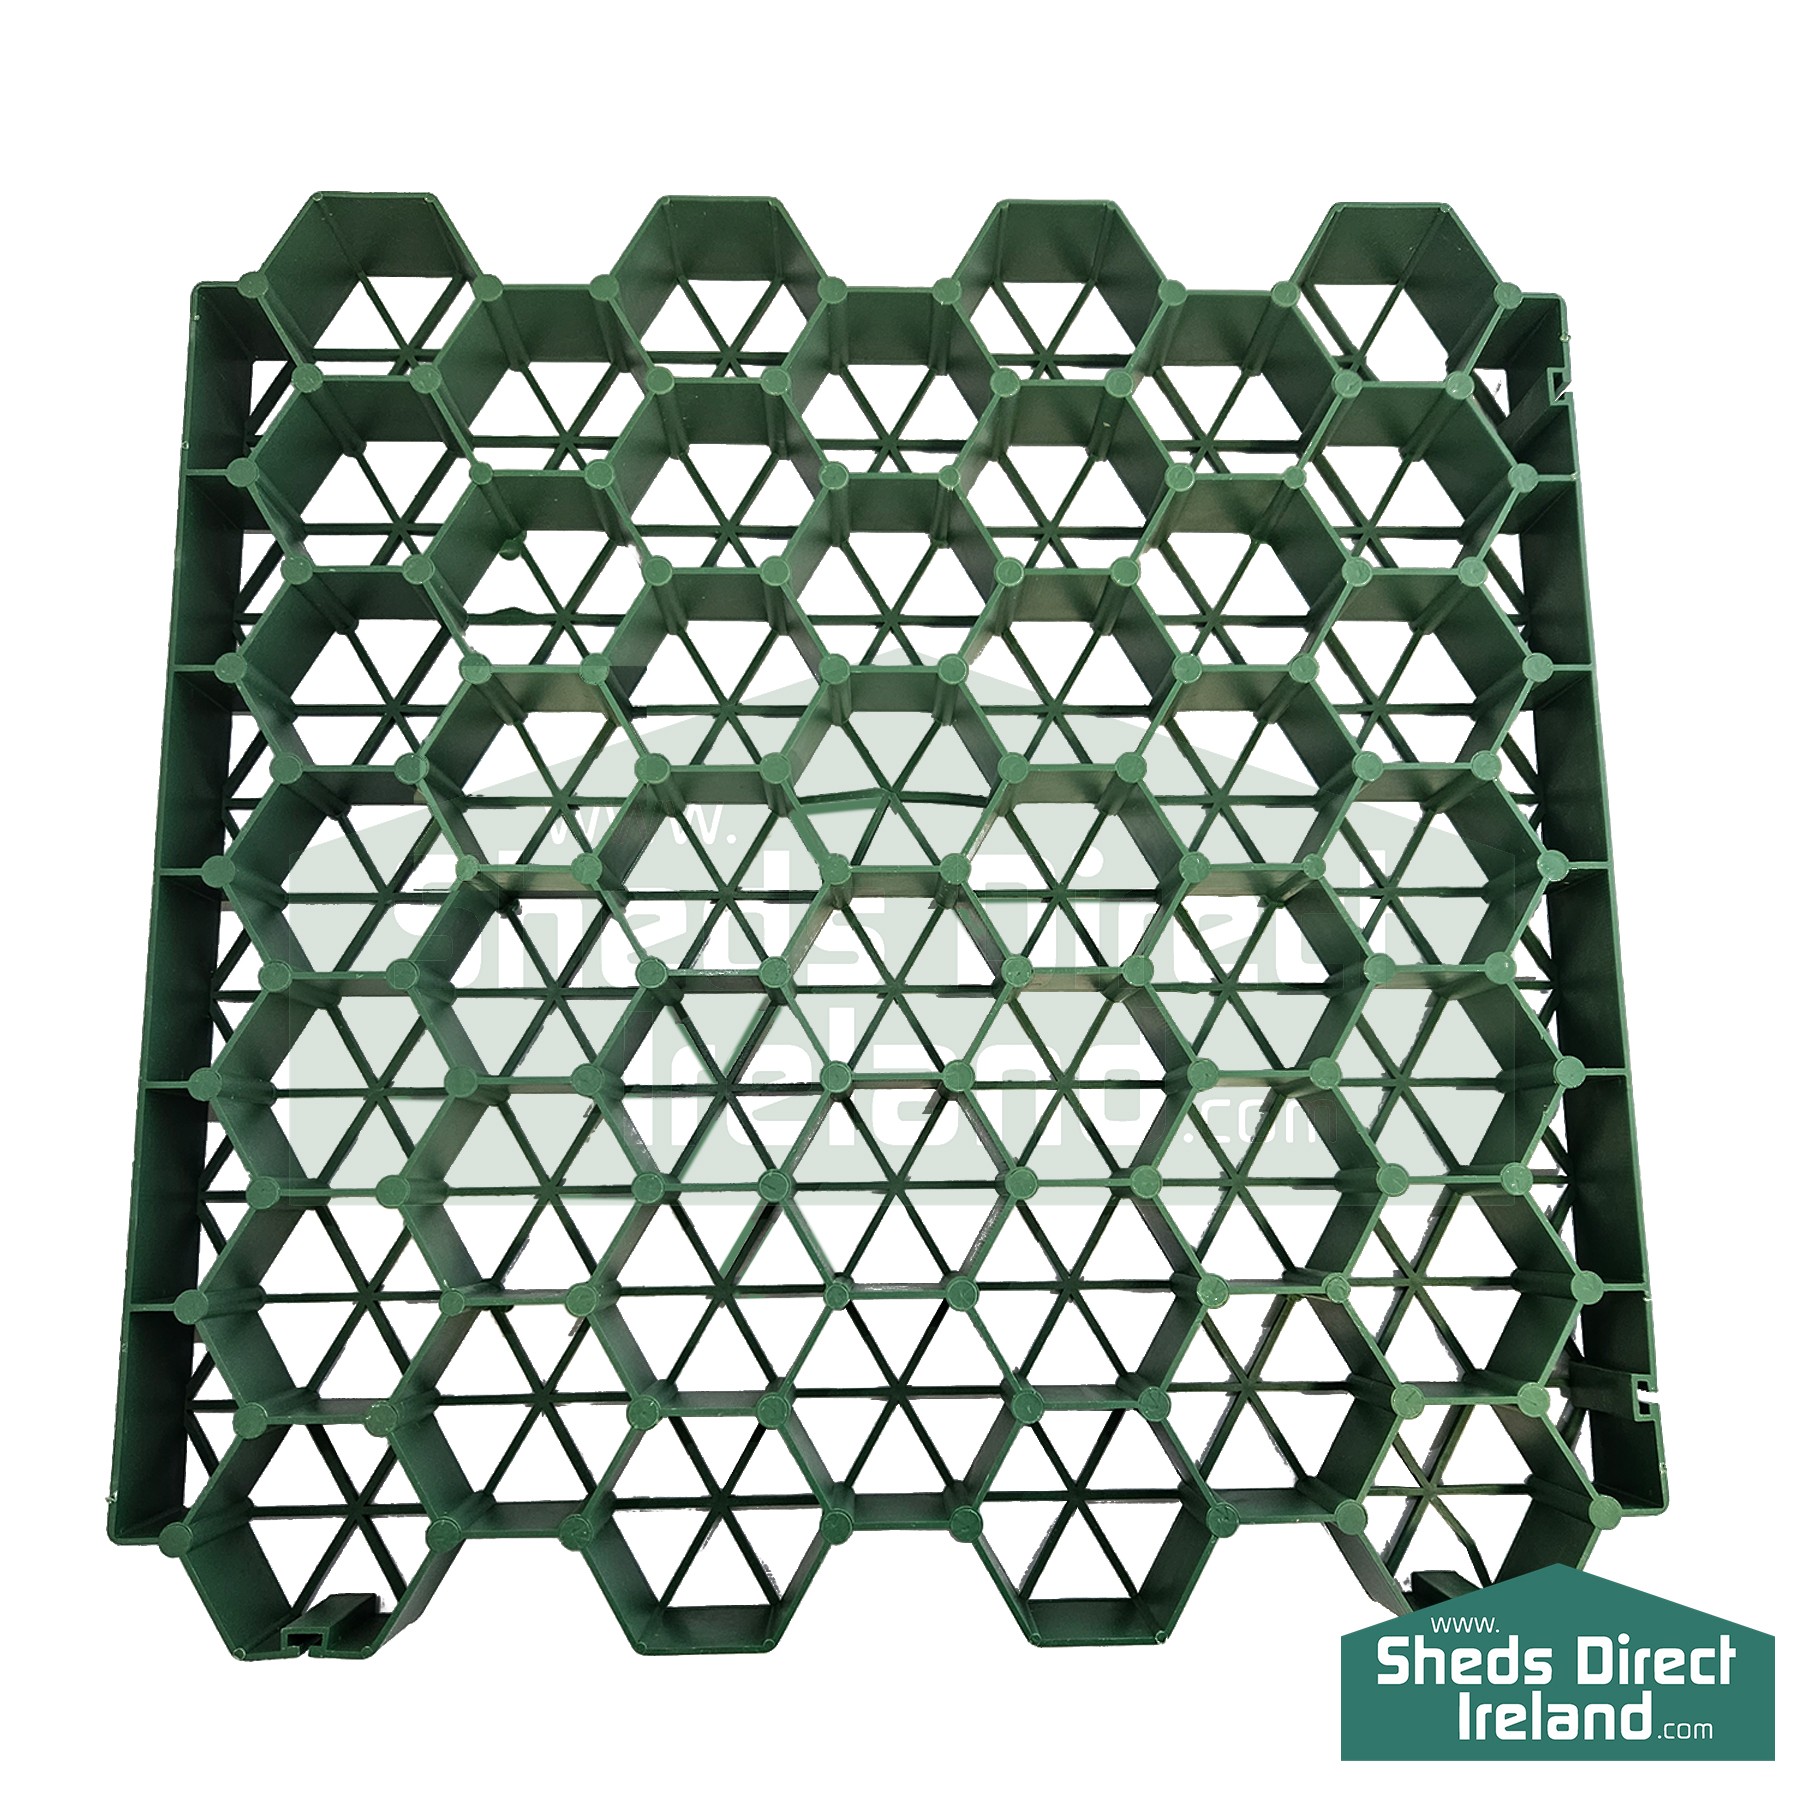
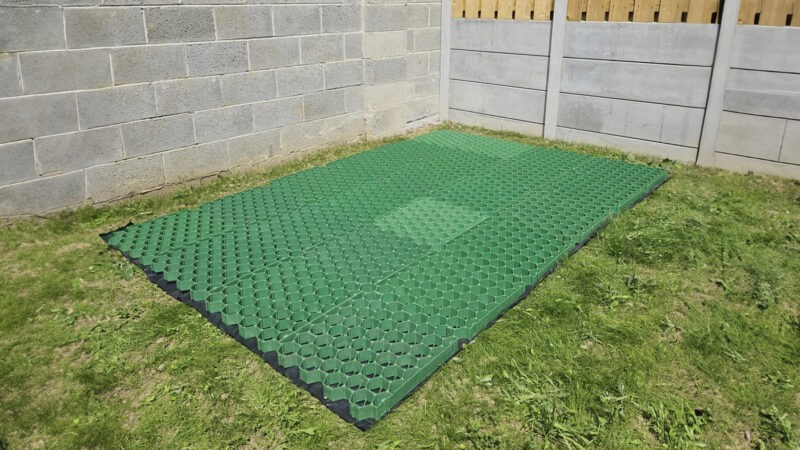
The Base
The main one is the base. All steel sheds require a solid, level base. We don’t offer a base assembly service, but we do provide a ‘ShedBase‘, that any old eejit (i.e., me) could assemble. Our team won’t assemble this, or any other base, but to be honest, the shed base should pose no issue to anyone that can lift a shovel. Check out this page, if you need more examples of good bases and bad bases.
Remember: You need to have your solid, level base ready (and dry if you went for concrete) before our assembly team arrive.
Be present on the day
We don’t need you there to help out, but we will need someone present to allow us access to the property, show us exactly where the shed is going and to ask questions to, should they arise.
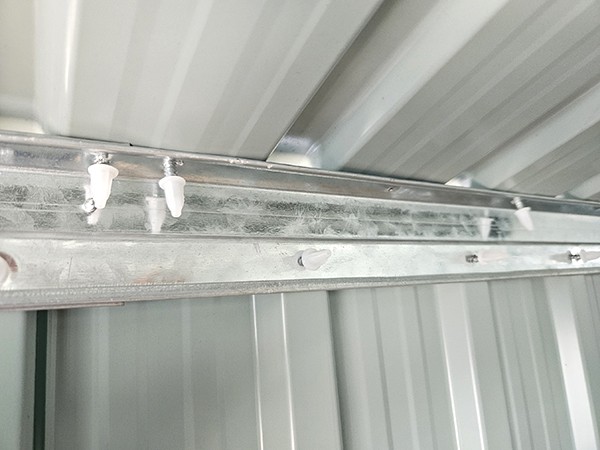
Remove the plastic
Your shed comes with plastic covering on the walls and doors. This prevents it from getting scratched in transit. It doesn’t take a very long time to remove it, but if our guys did do it for every shed they assemble, it’d add about 1-2 hours to their work day for each of the sheds that they assemble. As such, our team don’t offer this service (more on this later).
The plastic will come off in one-piece, if you start from the bottom up and move consistently and smoothly. For best results, don’t do this on a cold or wet day.
Apply The Screw Caps
Like the plastic on the doors, if the guys were to apply all the screw caps to every shed they assemble, it’d add another solid 1-2 hours to their assembly run. It’s not a difficult job by any stretch, just a laborious one.
Note about the plastic and screw caps
The caps and plastic seem to be a real sticking point for some customers, and we understand. But in an effort to keep our waiting lists as short as possible and to keep the cost down for you, we’ve chosen to bypass offering these services. At present, our lead times vary between 2-5 weeks; if we were to offer the plastic removal and cap application in each assembly, we’d only get through half as many sheds in a day, and as a result our lead times (and prices) would effectively double. Given that most people would rather do these tasks themselves rather than wait longer and pay more, it makes sense for all involved, for it to stay as-is.
What does Self-Assembly involve
Self-assembly isn’t for everyone. I’d go as far as to say that it’s not for most people. If you can plan ahead, follow the instructions to the letter and if you have all the tools and space ready ahead of the build, you should have little issue. However, even with the best intentions, the sheer volume of screws can overwhelm the less experienced builders among us. If you’re on the fence about assembly, here are some quick pointers that’ll help you make your decision that bit easier.
The Instructions
We have all our instructions here. If you’re even considering self-assembly, read them first. Make sure you understand them and that you’d be happy to use them without any additional assistance.

Collection
Right, so you can either collect your shed from us in Finglas or we can send the shed out to you with a haulier company.
We have all the details about collections of steel sheds here, should you need them. Generally speaking, we’d recommend that you come alone, have the car/van clear and cleaned out – and have the back seats of your car down. Our team will help you load your shed – but it’s a two man job lifting it, so you’ll need to assist. If you’ve any concerns about the size of your car, call us (01 864 4247) and our team will be able to let you know if it’ll fit or not.
Delivery
Delivery is a little bit more involved. Generally we’ll hire a haulier company to deliver your shed for you. As such, we can’t give you an exact time for delivery, but they will call about 30 mins before arrival to let you know that they’re on the way. The delivery is curb-side, so these guys won’t bring the shed into your back garden, through your house etc.
Obviously, the main thing with delivery is that you’re there when they arrive. Keep your phone on, answer the call from the unknown number on the day of delivery and let them know that you’re there!
Assembly of the shed
Set aside a good 8 hours for shed assembly. You may get it done in half this time, if you’ve done this kind of thing before. Generally speaking though, if it’s your first time with a build like this, you should expect it to take a solid 8 hours. If you need some top tips to ensure speedy assembly, here they are:
- Have the right tools ready; A cordless screwdriver will save you hours
- Read the instructions through before you begin construction
- When you open the box, check off all the parts – and organise them by part name. This will save a load of time messing around looking for parts later.
- Check the weather forecast ahead of time. You will have to stop if the weather gets very windy or wet; you can avoid leaving a half assembled shed exposed to the elements with a bit of pre-planning.

Knowledge and common sense
If you opt for self-assembly, you’re basically saying ‘I know what ‘I’m doing’. If you do get stuck we can offer some assistance, but please note, this won’t be instant. Our team will touch base with the assembly team and when they’re finished what the build that they’re working on, they’ll address the issue with the sales team. Obviously, their priority is with the customers who have opted for their services first.
To speed everything up, if you do get stuck, do the following:
- First, check the FAQs, under the shed assembly section specifically. Chances are, the answer is there. If not, read on.
- Take as many photos / videos of the area that’s causing an issue. Include wide shots as well as close ups. Always include a photo of the front of your shed showing the base,
- Text these photos to 085 7145 148
- Include the name of the parts that you’re having the issue with from the instructions (if you don’t have this ready, you’re clearly not following the instructions!)
- Also add your name as well as your order/invoice number in this text
Self-Assembly No-nos.
Let’s keep this nice and brief, when building your shed:
- DO NOT DRILL ANY HOLES INTO ANY PANELS. We cannot offer any assistance with your assembly if you do so.
- If the panels don’t line up, you’ve either missed a step in the instructions, or your base isn’t level. You never need to drill into the steel panels of the shed.
- Do not build it alone. Our team build dozens of sheds a day, and even they wouldn’t go at one alone for safety reasons.
- Do not build on a windy day, or any other day where the weather will pose a safety issue
- Do not build it on grass, build it on a suitable, solid, level base.
Any questions?
It’s all relatively simple, but if we’ve missed anything let us know by getting in touch. You don’t need to plough ahead regardless, get in touch with us before you do anything drastic and we can make sure that everything goes smoothly.